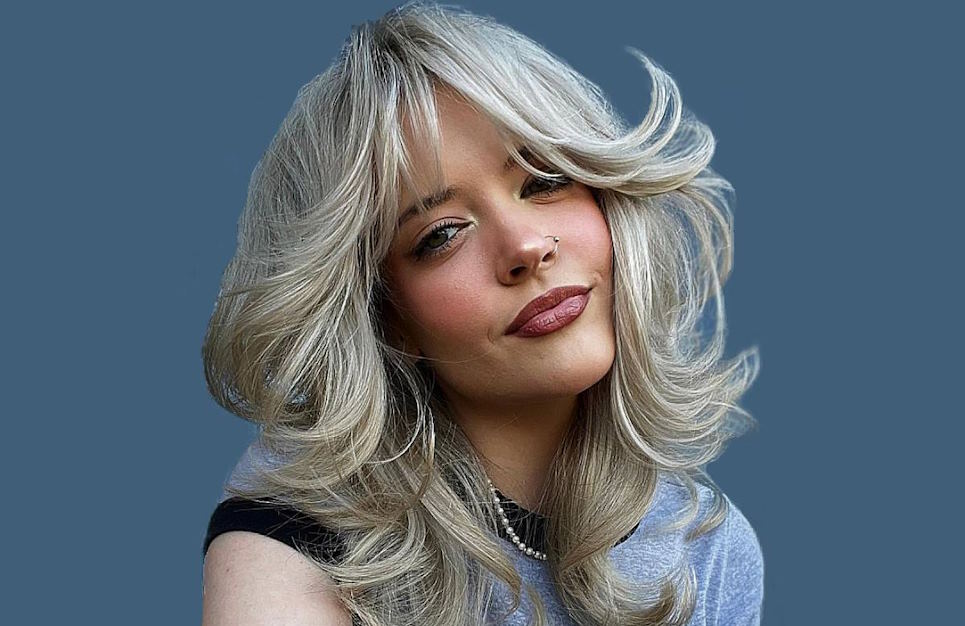
This is probably going to be a very boring post for my clients, but I wanted to share it since learning to use these flashes was an “A-ha!” moment for me!
I recently purchased 2 Canon 600EX-RT flashes and was poring (I just accidentally wrote that as boring, and IT IS) through the manual to try to figure it out. I went to my best friend Google to try to interpret and I read several articles that stated you can only use the flashes in ETTL mode on cameras made before 2012. Which would definitely mean my current main camera body, the Canon 7D.
I was CRUSHED. Buying any piece of camera equipment is a huge deal to me. The way I typically use my flashes is my on-camera flash is ETTL, and my off-camera flash is in manual mode. I set up the off-camera flash at the reception, somewhere at the edge of the dance floor, and I put it in manual because I use it to backlight people dancing. That extra pop of light makes my images look two-dimensional instead of flat. Unfortunately when using ETTL, the off-camera flash would be blasting at full power, which is too strong to accomplish the backlit effect.
Fortunately, one of my photographer friends kept me from breathing in a bag and let me know you CAN control the second flash – you just have to do it through your camera menu.
First, you need to link your flashes. Turn both of them on, and make sure one is mounted on your camera.
- Press the zig-zig button on the left side until Master displays on the flash you want as master flash. Make sure it says AUTO above C.Fn on the screen. This screen will be green.
- Press the zig-zag button on the unit you want as the Slave unit until the Slave screen appears. Again, make sure AUTO appears above C.Fn on the screen. This screen will be orange.
- Press the 4th button at the top (below MENU 1) until the MENU 3 screen appears. Press ID and make up whatever 4 number combination you want, then hit the back button. Do the same on your slave unit.
- Once you complete these steps, your flashes should be linked. You will know because the LINK light above the screen on both flashes will be green.

Now, here is how you change the flash output on the slave unit:
- Push the Menu button on your camera. Under the first camera settings screen, scroll down to Flash control, and select.
- Scroll down to External flash func. setting, and select. (Note you can only do this if your master flash is on your camera, and both flashes are turned on. Otherwise you’ll get an error message.)
- Select Flash mode and change to Manual flash. Under Flash output, select your desired output.
- Note that if you look at your slave unit after making this change, you won’t see any change. Once you take a picture, the screen will reflect your settings.

Another quick tip is sometimes I only want my off-camera flash firing, possibly for formals or for a different lighting effect on the dance floor. Obviously you need to keep your master flash on to send the message to the slave unit to fire. To turn off the master flash, while still keeping the unit on, make sure you are on the master flash screen (you can hit the zig-zag button to get there – note if you do this, the flashes will become unlinked until the proper screen comes up, and then they will light green again). Push the button under MENU 1 until MENU 2 displays. On the far left side, you will see mini flash images, one with lines coming out as though the flash is firing, and one without. Hit the button once – you will see the lines on the master flash display will disappear, which means it won’t fire until you change the setting.

That’s it! Hopefully I’ve saved someone from a panic attack. Happy flashing! Er…you know what I mean.